Tutorial: Your first Cloud Application
Currently, the tarant cloud is in private beta. To deploy a new application to the cloud, you will need to join.
You can read our announcement in the following blog post: Tarant Cloud: Private Beta Is Ready.
The Development Environment
Tarant works in Node.js, and the tarant cloud commandline (txc) als orequires Node.js to work. Before continuing, make sure you installed
the latest TLS version of Node.js. If you already have Node.js in your system, you can move forward to install all the
required dependencies.
The tarant cloud is accessible by a command line called txc. txc allows you to login, deploy, and check your application statuses on the cloud,
as if it would be your own development environment. To install txc, run the following command:
npm i tarant-cloud-cli
To ensure txc is installed properly, run the following command:
txc -V
And you will see the version of the current txc installation:
my-user@my-machine:~/$ txc -V
0.0.1
Bootstrapping a new application
tarant applications are just ordinary applications. They don't require any additional infrastructure to work: just the tarant library. So, we can
just bootstrap a new project creating a new folder and using npm init.
mkdir example-app-cloud
cd example-app-cloud
npm init -y
Once the package is initialised, now we can now install the dependencies we want using npm i. For this example, we are going to need both tarant
and express:
npm i tarant express --save
Once the dependencies are installed (both tarant and express are pretty lightweight) we are ready to code. In this tutorial, we will give you a running tarant application so you can deploy it as quick as possible.
Create the index.js file and paste the following code:
const express = require('express')
const tarant = require('tarant')

const pkg = require('./package.json')
const app = express()

class Book extends tarant.Actor {
    constructor() {
        super('Book')

        this.signatures = []
    }

    sign(name) {
        this.signatures.push(name)
        if (this.signatures.length > 100) {
            this.signatures.splice(0, 1)
        }
    }

    signatures() {
        return this.signatures
    }
}

const actorSystem = tarant.ActorSystem.default()
const book = actorSystem.actorOf(Book, [ ])

app.get('/signatures/:name', (req, res) => {
    book.sign(req.params.name)
    res.status(201).send()
})

app.get('/signatures', async (req, res) => {
    const signatures = await book.signatures()
    res.status(200).send({ lastSignatures: signatures })
})

app.get('/health', (req, res) => res.send(`${pkg.name}:${pkg.version}`))
app.listen(8080)
Deploying your application
Once you are done, open a terminal in the folder with your project. Now you can login in the tarant cloud using the txc login command:
txc login
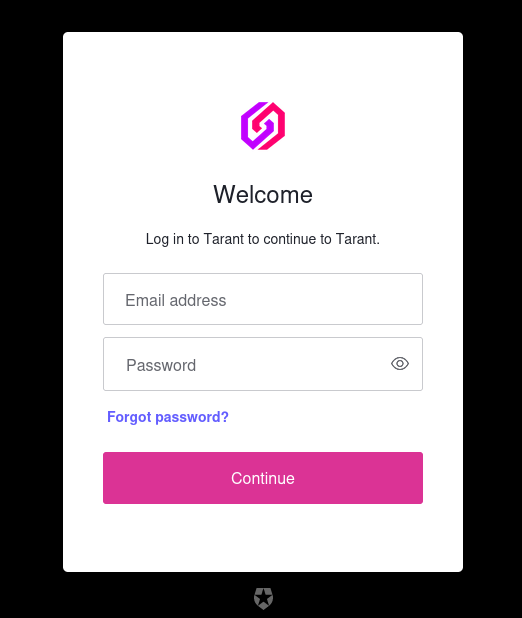
It will open a browser with a SSO web page:

Input your credentials, and once you login successfully, go back into your CLI. You'll see an Authentication Success message.
You only need to log in once in a while. The authentication spans for a few hours and when you run an authenticated command, it will ask you to log in first if the session expired.
Now you can deploy your application using the txc deploy command.

Once you run the txc deploy, it will take a few minutes to deploy. You can check the progress of your deploy using the
txc ps command. Eventually, you'll see your running applications:

The provided information is as following:
- Status: A circle that shows your application status. 🟢 means it's healthy, 🟠 means a warning (application running but unhealthy) and 🔴 means the application is down.
- Application: This is your application name.
- Version: This is the running version of your application. When you deploy a new version, this one will be replaced.
- Start Time: When the deploy happened.
- URL: URL of your application. The shared infrastructure uses the same DNS for all applications, so don't put any private information in there!
Now that your application is running (in our case, in http://server.tarant.cloud:9001/), we can now try it. In your terminal, now run:
curl URL_OF_YOUR_SERVER/health
# For example: curl http://server.tarant.cloud:9001/health
And you'll receive the following output:
example-app-cloud:1.0.0
Now you can try to run a new endpoint, for example, signing the book and reading all signatures:
curl URL_OF_YOUR_SERVER/signatures/tarantx
curl URL_OF_YOUR_SERVER/signatures

curl http://server.tarant.cloud:9001/signatures/tarantx
curl http://server.tarant.cloud:9001/signatures
It will output something like:
{"lastSignatures":["tarantx"]}
And you are ready!